A crooked smile, colorful eyebrows, or a pumpkin with a name only your child could invent: Halloween decorating leaves plenty of room for imagination.
These pumpkin decorating ideas for kids give you something to make together, with simple supplies and a different role for everyone. Your child can choose the colors and expressions while you help with the setup and trickier details.
All four designs can be made without carving. Pick whichever catches your child’s interest, and let their pumpkin look a little different from the example.
Before You Start
Cover your table, wipe the pumpkin clean, and dry it thoroughly. A grown-up should position it on a stable surface where it will not roll.
Choose washable paints or paint sticks labeled for your child’s age and recommended by the manufacturer for pumpkin decorating. Test a small patch and let it dry before starting your design. Allow drying time between layers, and display painted pumpkins indoors, away from moisture. Keep painted pumpkins for decoration rather than cooking or eating.
What you need
- One pumpkin—or a larger and smaller pumpkin for the pumpkin pair.
- Age-appropriate washable paints or paint sticks suitable for pumpkin decorating.
- Paintbrushes suitable for your child, if using liquid paint.
- Paper for trying out faces and shapes.
- A cloth for spills.
Choose art materials intended for children and follow their labels. Keep paint and markers away from mouths and eyes, and wash hands afterward. “Non-toxic” does not mean edible. The Consumer Product Safety Commission’s art and craft guide (PDF) explains what to look for when choosing children’s supplies.
1. The Silly Stitched Smile
Save activity (PDF)Give the original stitched-face idea a playful twist with a painted smile and colorful “stitches.”
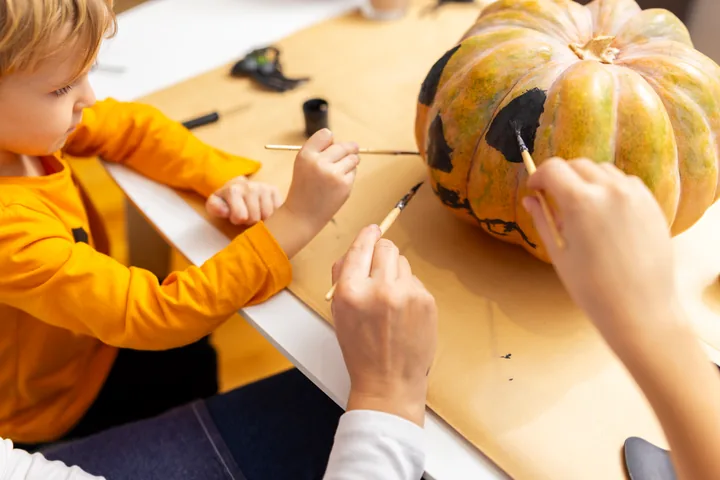
Your child’s part
Choose the expression. Will the pumpkin have sleepy eyes, surprised eyebrows, or an enormous grin? Try a few faces on paper first.
The grown-up’s part
Help paint a curved mouth if your child wants a starting point. Once it dries, show them how short lines across the smile can look like stitches.
Make it together
- Draw or paint two eyes and a curved smile.
- Let the paint dry before adding details over it.
- Add short lines across the mouth in whichever colors your child chooses.
- Finish with eyebrows, rosy cheeks, or a few freckles.
The lines do not need to match. One purple eyebrow and one green eyebrow might be exactly what this pumpkin needs.
2. Big-and-Little Pumpkin Pals
Save activity (PDF)Two pumpkins standing side by side can become a pair of friends, siblings, or completely imaginary characters.
This version keeps the fun of using different pumpkin sizes, with no cutting or toothpicks needed.
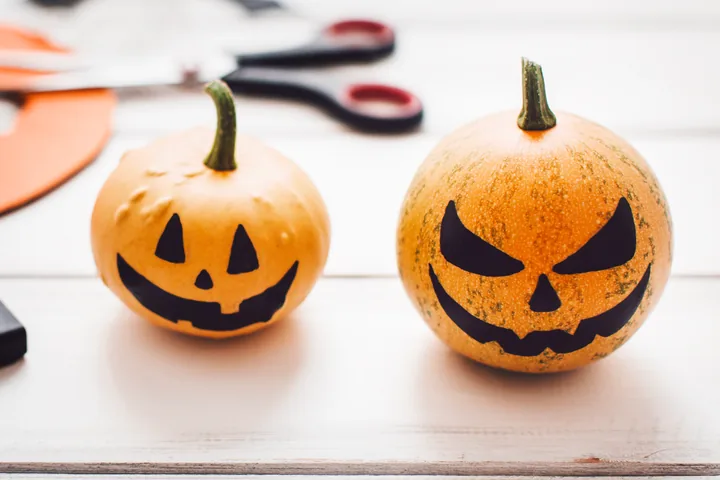
Your child’s part
Choose a personality for each pumpkin. Perhaps the larger one is sleepy and the smaller one looks delighted.
The grown-up’s part
Position both pumpkins securely and help with any details your child finds fiddly. Keep them beside each other rather than balancing or stacking them.
Make it together
- Decide whether the pumpkins will have matching or different faces.
- Paint the eyes and mouths.
- Add a shared detail, such as matching eyebrows or colorful spots.
- Once dry, let your child introduce the pair.
They could be Pumpkin and Pip, two pumpkin cousins, or characters from a story your child makes up as you paint.
3. The Bat Pumpkin
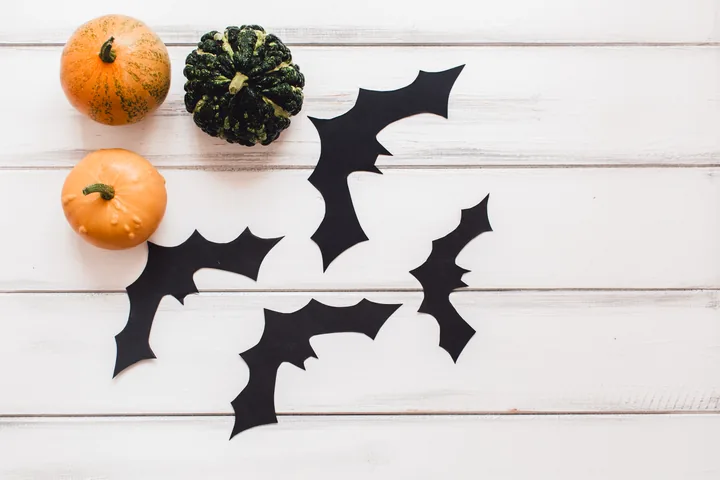
Save activity (PDF)A bat shape can turn an ordinary pumpkin into a Halloween decoration without cutting through its skin.
Your child’s part
Choose one large bat or a whole group of smaller ones. Pick black, purple, blue, or another favorite color.
The grown-up’s part
Sketch a simple outline if your child would like help. Two wide wings, a small body, and pointed ears are enough.
Make it together
- Practice a bat shape on paper.
- Draw the outline on the pumpkin.
- Let your child paint inside it—or add their own marks around it.
- Add painted stars, a moon, or colorful dots.
For a simpler version, paint the bat’s face on the front of the pumpkin and add a wing on each side.
4. The Classic Pumpkin Face
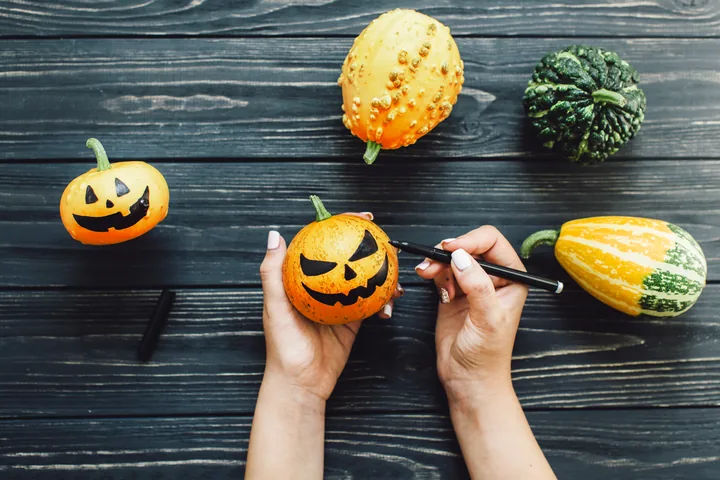
Save activity (PDF)Triangle eyes and a big grin are a familiar Halloween combination. Painting them gives children a way to create their own version.
Your child’s part
Choose the shapes and expression. The eyes could be circles, the nose could be a square, and the smile could have one enormous tooth.
The grown-up’s part
Help outline the shapes if asked, and hold the pumpkin steady during painting.
Make it together
- Choose two eye shapes and a nose.
- Add a smile, a surprised mouth, or a sleepy yawn.
- Fill in the shapes with paint.
- Give the finished pumpkin a name.
If your child would rather cover it in stripes or spots, follow that idea. It is their pumpkin, after all.
If Your Family Chooses to Carve
Keep all cutting and carving as the grown-up’s job. Children can plan the face on paper and return to decorating once the cutting is finished and the tools are put away. They should not hold the pumpkin while an adult cuts it.
For a glowing pumpkin, choose a battery-powered light instead of a real candle. Check that its battery compartment is child-resistant and properly secured, and keep lights and spare batteries out of children’s reach. Button batteries are particularly dangerous if swallowed. The CPSC’s button-battery guidance explains what to check.
Give Your Pumpkins a Place to Shine
Once the paint is dry, choose a stable indoor display spot where the pumpkins will not fall or block a walkway. Keep decorated pumpkins and their supplies away from younger siblings and pets.
Before tidying up, let your child introduce their creation. Take a photo, invent a short pumpkin story, or admire the colors together.
There is no need to finish every design in one afternoon. One pumpkin with a wonderfully uneven smile is plenty.
For more ways to enjoy the season together, explore our Halloween activities for preschoolers, including songs, crafts, and cartoons. Next time you open KidsBeeTV, explore the Halloween category together and let your child help choose a song, story, or activity.